

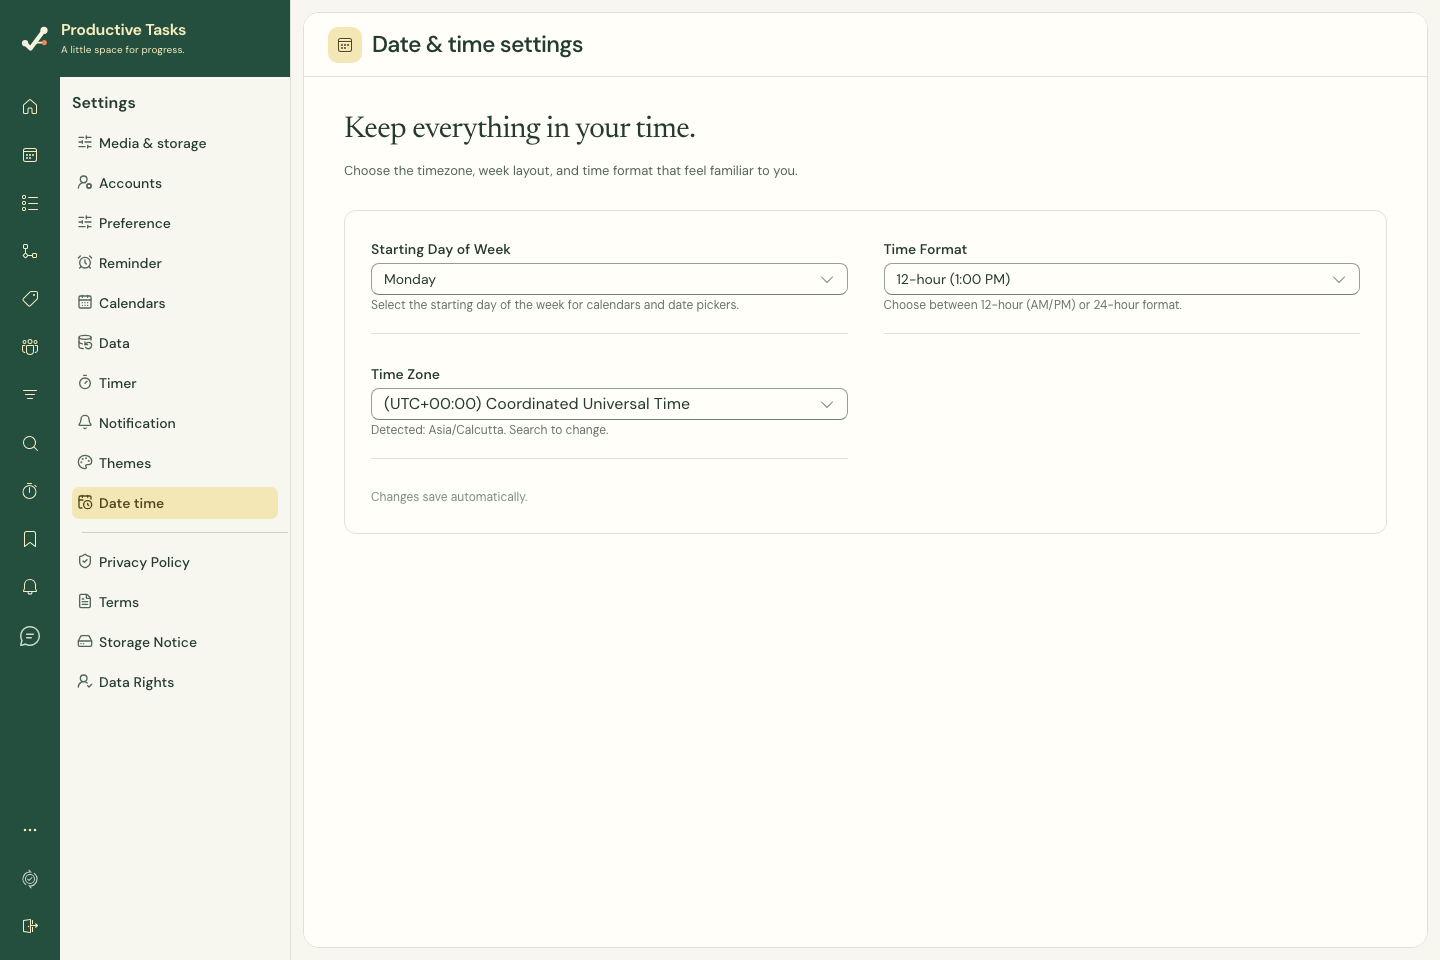
Review the account settings
- Open Settings → Date time.
- Choose the time zone that should govern your account’s time-based preferences.
- Choose Starting Day of Week and Time Format (12-hour or 24-hour). Changes save automatically.
- Review an existing scheduled task to confirm the display makes sense.
Separate a time zone from a format
A 12-hour or 24-hour format changes how a time is displayed. A time zone affects which local time an instant corresponds to. A week-start choice changes how a calendar is arranged.
When travelling or comparing devices
Check the account time zone and the device’s own time settings when a time seems to have shifted. A date-only task does not express the same commitment as a task with an exact hour.
If daily summary email delivery is available, its chosen time uses your account time zone. Review that preference after changing zones.