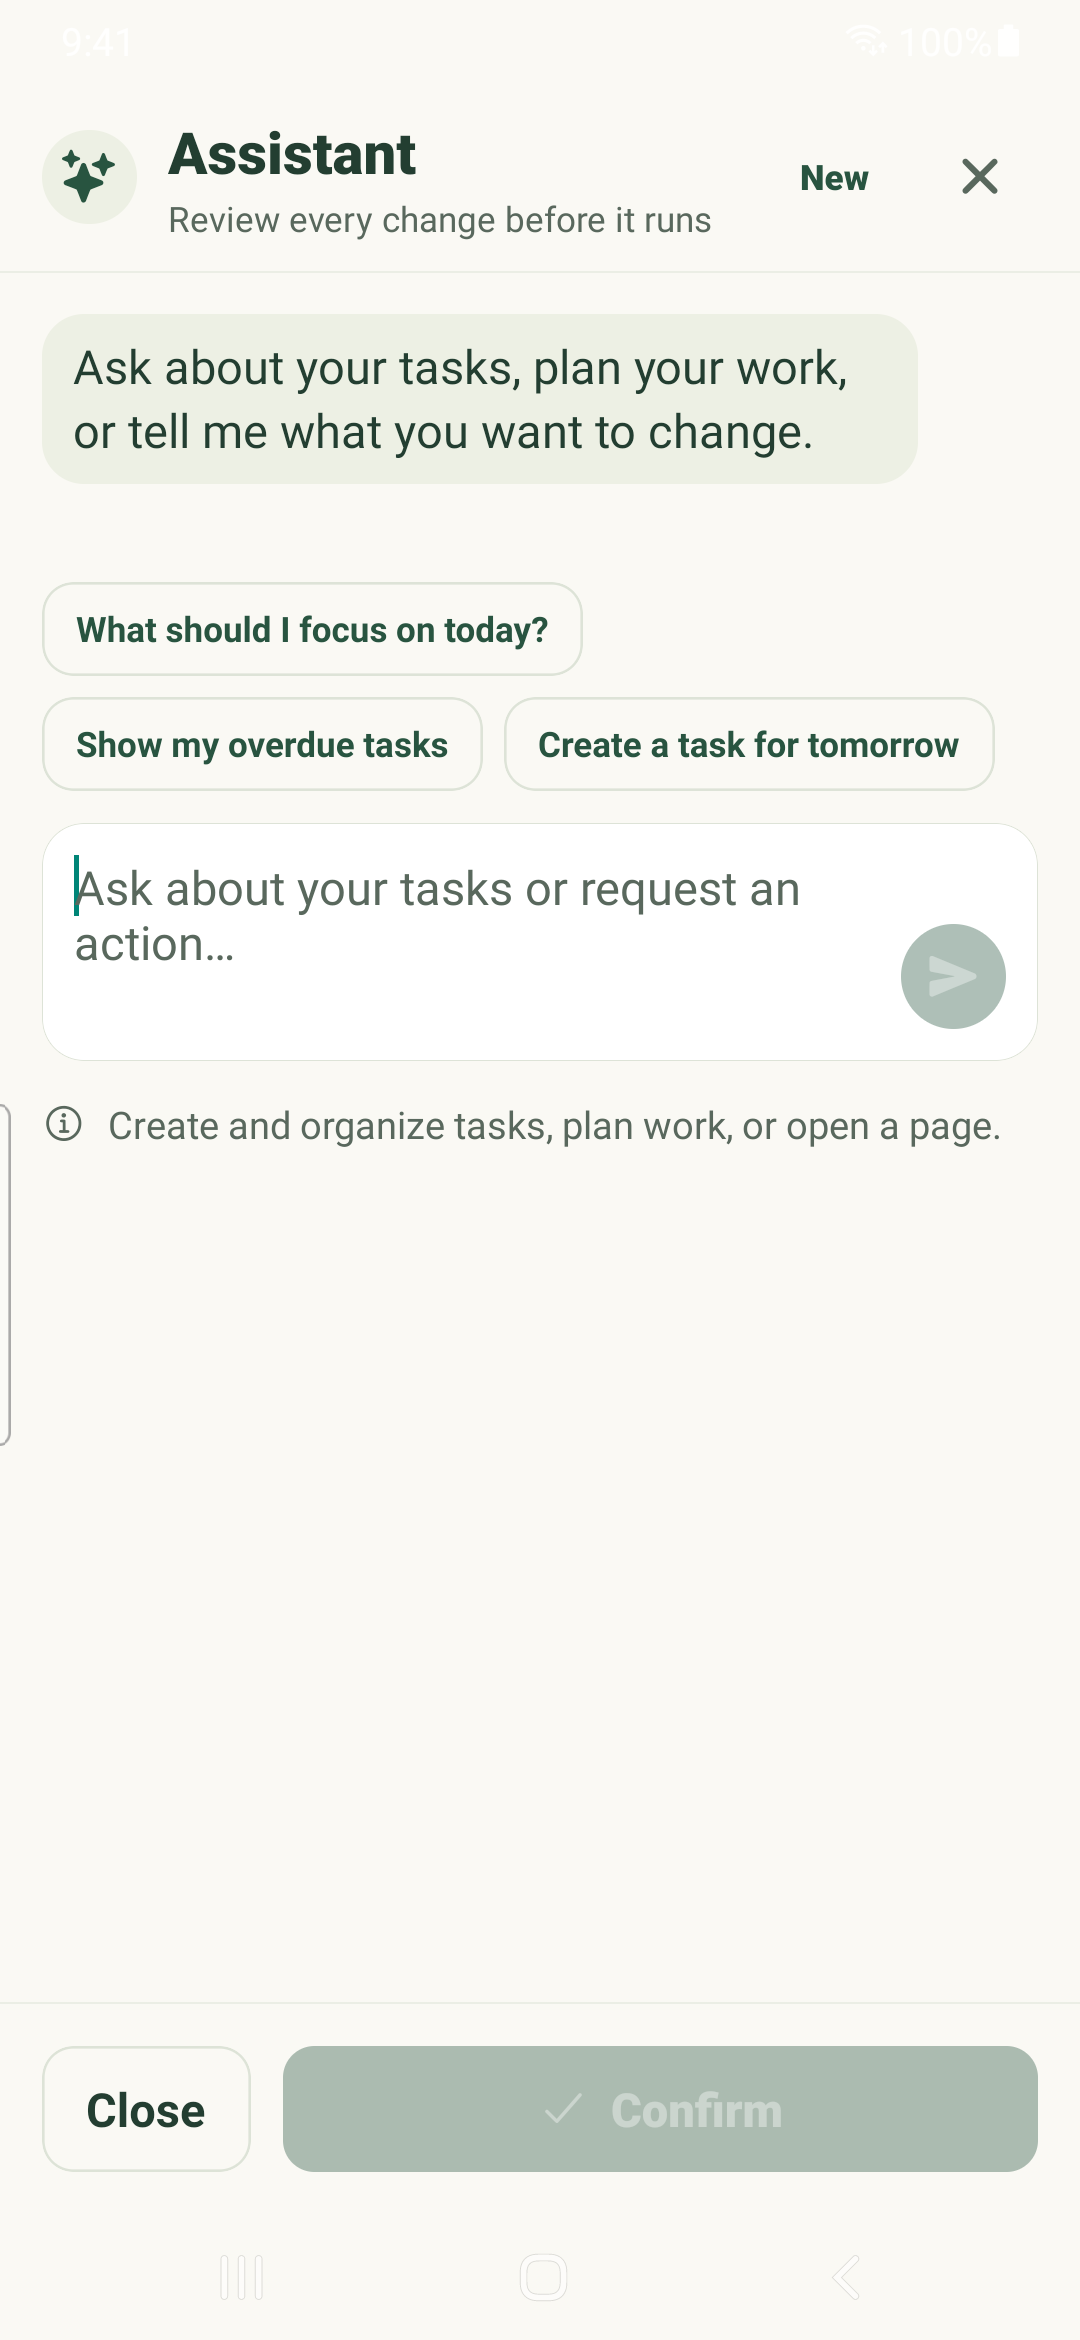

Open the assistant, describe what you need and review proposed actions before applying changes.
Start with a clear request
- Tap the assistant button in the app.
- Type a request such as “Show my tasks for today” or describe a task you want to create.
- Send the command and read the response.
- When changes are proposed, inspect the task names, dates and destinations before confirming the offered action.
Use the result appropriately
The assistant can help with supported task, category and tag creation, task search, navigation, appearance and validated rescheduling. Available actions depend on the interpretation returned by the service and your permissions.
Navigation commands can open a destination; they do not necessarily create or modify data. Review the resulting screen to confirm the intended view.
Connection and retries
The current assistant screen uses typed commands. Voice-related infrastructure or widget shortcuts do not establish that an in-app recording control is available in this build.
Interpretation and server-validated actions need connectivity. A locally created task can still be waiting to synchronize. Do not resend a creation request until you have checked whether the first one succeeded.
Start over
Use New to begin a fresh assistant conversation, or close the assistant to return to your work. Check tasks directly when a response is unclear.
iPhone example
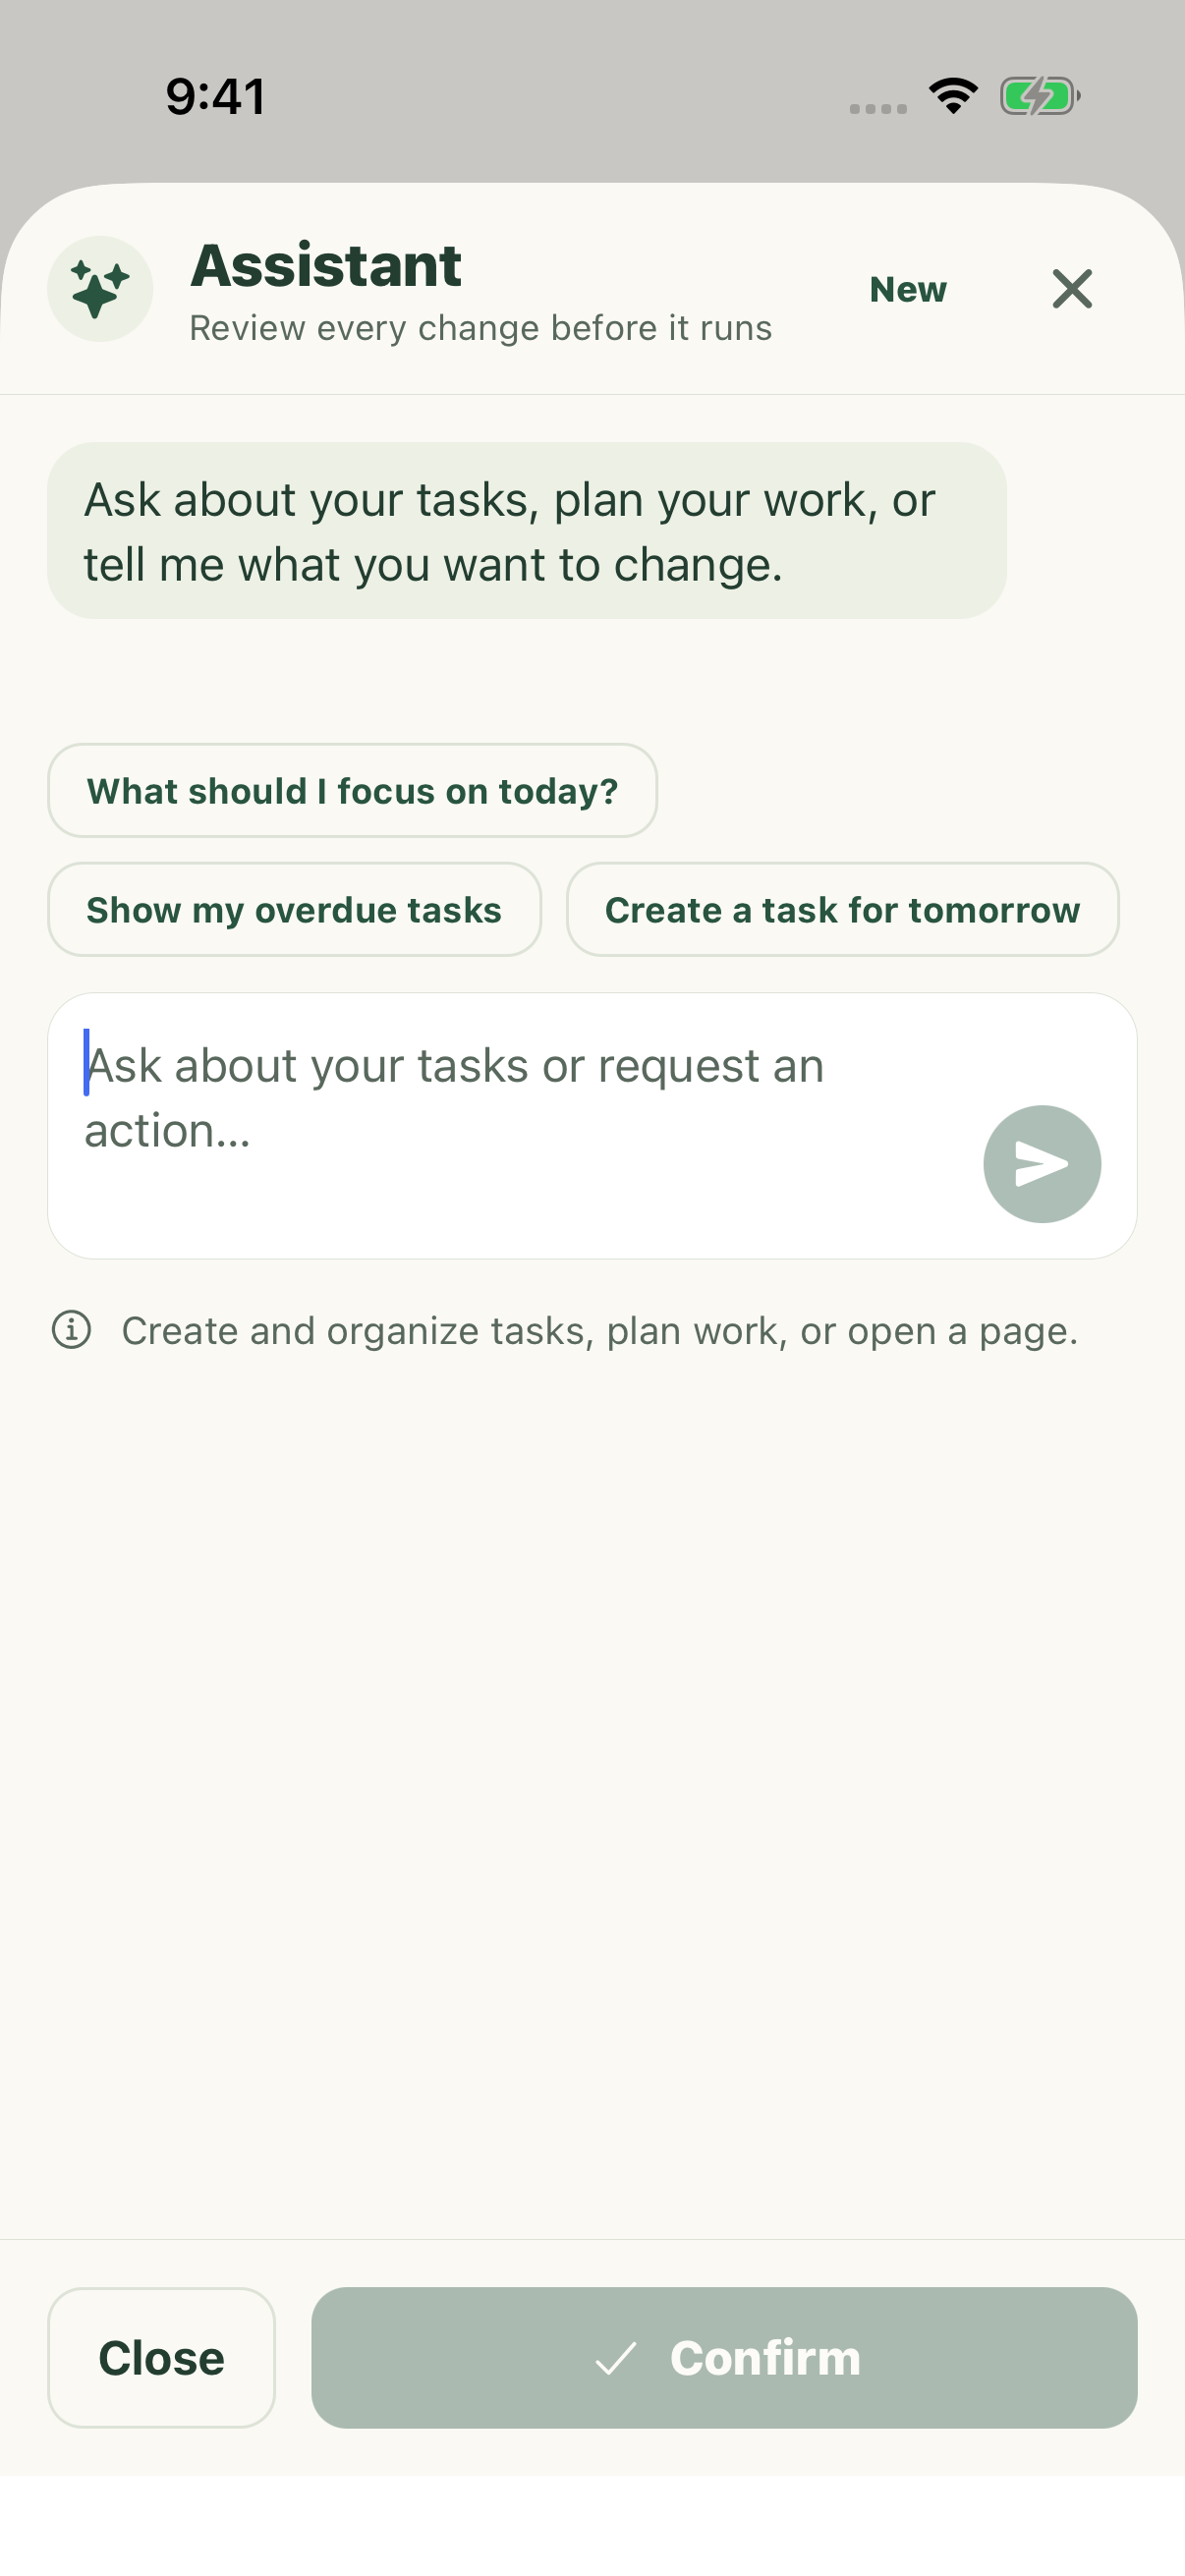
Android example